SwiftUI is a modern toolkit that has made iOS development a lot more intuitive, providing a declarative way of writing UI. One of the most common requirements for authentication in today’s modern apps is a way to enter an OTP/Pin to log in/signup or even verify a phone number. In this post, we are going to demonstrate how to use a simple library that makes it easy to integrate a customisable Otp/pin view in your iOS app.
Project Setup
Start by creating a new SwiftUI project
- Open Xcode and create a new project.
- Choose “App” as the template.
- Enter the product name, and make sure you select SwiftUI as the preferred interface.
- Choose the location where you want to save the project and simply click “create”.
Integrating the Package
We are going to use otpview-swiftui which is a simply library/package that provides a nice customisable view for otp verification. To integrate the library/package follow the below steps.
- Go to
File -> Swift Packages -> Add Package Dependency - In the search bar, enter
https://github.com/mukeshsolanki/otpview-swiftui - Choose the latest available version and click
Next - Make sure you select your target to add then click
Finish
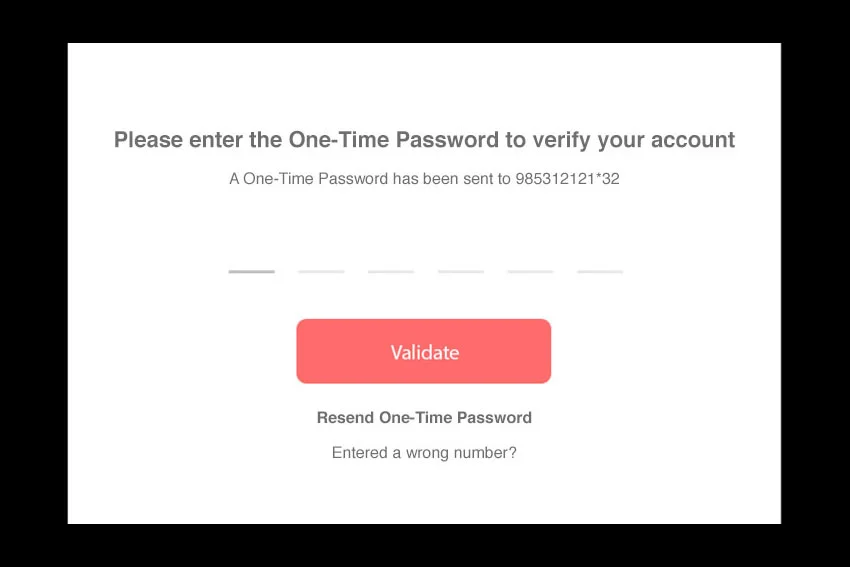
How to use the OTPView
Using the OtpView is very easy. Lets start by first importing the package to our view file like wise. Once you have imported the package you should now be able to make use of the view. here is how you would use it.
Lets take a look at the different properties.
- activeColorIndicator - Color used to indicate the active digit of the otp view
- inactiveColorIndicator - Color used to indicate the inactive digits of the otp view.
- length - The size of the otp.
- doSomething(String) - A callback for when the user has input the otp. The parameter is the otp input by the user.
Thats pretty much it!! You have successfully implemented the package and your app is good to go!


